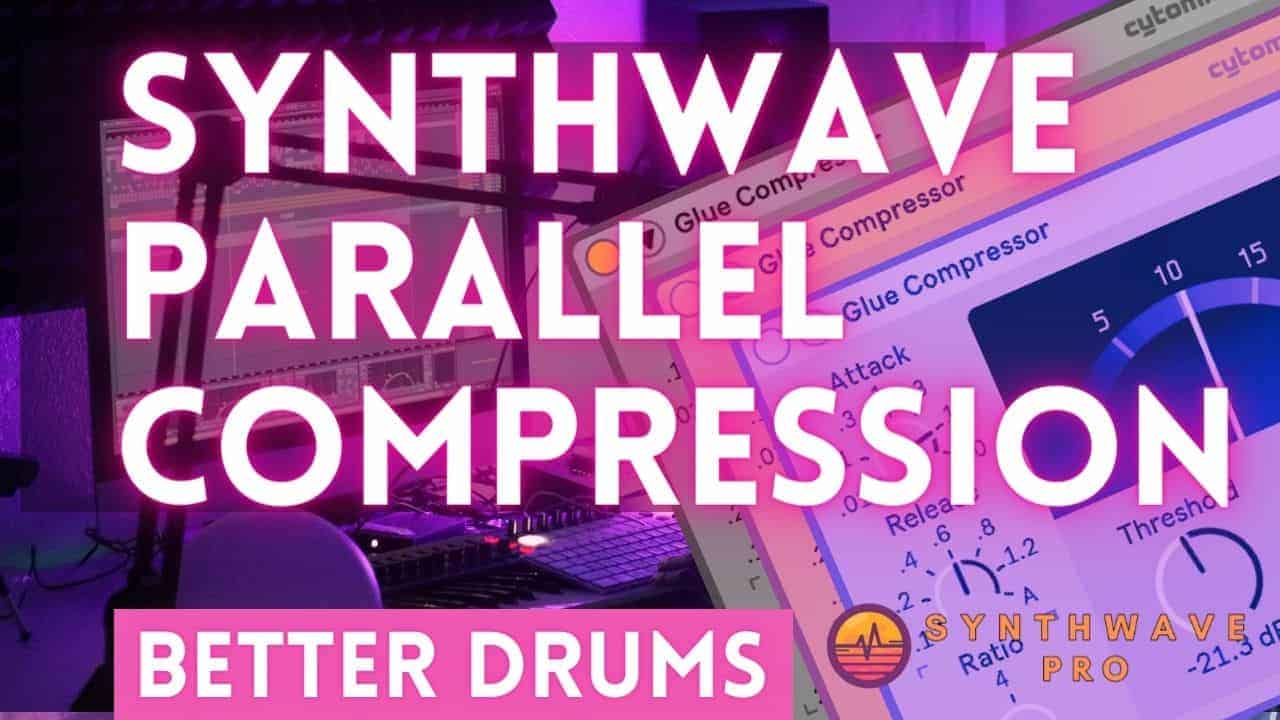
The technique of parallel compression is widely used among mix engineers to beef up a particular sound. While many EDM producers rely on an assortment of plugins to dial in a sound, the parallel compression technique is simple and can be performed with your basic stock plugin compressor. In this tutorial we’ll discover ways of implementing parallel compression on our drum buss. We’ll also showcase a few plugins you should use in conjunction with a parallel compressor.
What is Parallel Compression?
The term parallel compression refers to mixing an overly compressed sound with that of its uncompressed counterpart thus creating a unified sound that is generally more aggressive and rich with sustain. The technique is sometimes referred to as New York Compression, partly due to its origins stemming from New York City recording engineers. When done correctly, parallel compression adds depth, punch and sustain to a lackluster drum buss.
How to use Parallel Compression?
There are a number of ways to use parallel compression. For instance, pull up Ableton Live’s The Glue compressor and add a crazy amount of compression. You can go as far as 15dB’s of gain reduction. Next, dial back the mix knob and blend both the compressed and uncompressed sounds together. Alternatively, you can add a compressor to a return channel to have it receive incoming signals from your tracks’ sends knobs.
Best Compressor for Parallel Compression on Drums
One of the best compressors for setting up parallel compression on drums is the 1176 compressor. The device or plugin version adds punch to a signal and has a distortion component that kicks in when a signal is driven to extreme settings.

Setting for Parallel Compression on Drums
Ideally, you want a fast attack, medium to long release time with a ratio of 6:1. Remember to apply a liberal amount of gain reduction to the point where the signal is completely squashed. You’ll know that it’s sufficiently compressed as the signal is void of any musicality – on its own, it sounds horrendous – in the context of a mix however, the sound adds magic to your overall mix.
Mixing Drums with Saturation and Parallel Compression
Along with a compressor, a saturator may be added to add more depth, grit and fuzz to any sound. Simply slide a saturator after the compressor and be sure to add a good amount of saturation.
A side effect to extreme parallel compression is the loss of low end energy. As result, an EQ plugin with a boosted low end and high end shelve will reintroduce those frequencies back into the mix. Feel free to experiment with various equalization curves that boost various ranges of the frequency spectrum.
- Learn more on Synth bass mixing
- Learn how to use foreshadowing on a synthwave track
- How to make synthwave melodies in Ableton tutorial
- Learn how to create a whisper track
- Learn how to add VHS tape noise to a Synthwave track to make is sound totally retro
- Learn how to create better transitions in your arrangement
- Program synthesizers like a pro with this cool app
- Download the Free Synthwave Drum Selector
- Enroll in the synthwave masterclass
Parallel Compression on Everything
I once accidentally applied parallel compression to my master channel. The mix sounded terrible until I decided to back off the mix knob to reintroduce a small amount of the compressed signal back into the mix. To my surprise the track sounded fuller and had more weight. It’s as if someone had suddenly turned on the lights!
Conclusion
The parallel compression techniques is not limited to drum busses so use it on synths and bass parts. You’ll be amazed at how this simple technique can bring so much life to your synthwave mixes.
Recent Posts
I’ve been producing synthwave for a long time now—and there’s one thing I see over and over again: Tracks that have good ideas… but still sound cheap. Not because the producer lacks...
How to Start Producing Synthwave: The Beginner’s Guide You Actually Need
Synthwave might sound like neon lights turned into music — nostalgic, dreamy, powerful, retro, and modern all at once. But if you’re just getting started, it can feel overwhelming: “What synth...

